
Following up from our earlier review of the Wilson Combat Tactical Trigger Unit (TTU), here is the installation guide for the TTU.
We mentioned in the review that installation of this unit is about as simple as it gets. The TTU is a trigger pack that has no parts to lose and no adjustments to make, which makes this about fool-proof. However, instead of talking about how easy it is, we figured we would do a quick guide with pictures.
Click the picture to see just how easy this trigger pack is to install.
more
The first thing for us to point out is that firearms are obviously dangerous. Military Times can accept no responsibility for how other people choose to use this information, and while this is a straightforward guide, we understand that some people are less capable than others. If you are one of those people who is lacking, just look at the pictures and have a buddy help you out or take it to a gunsmith.
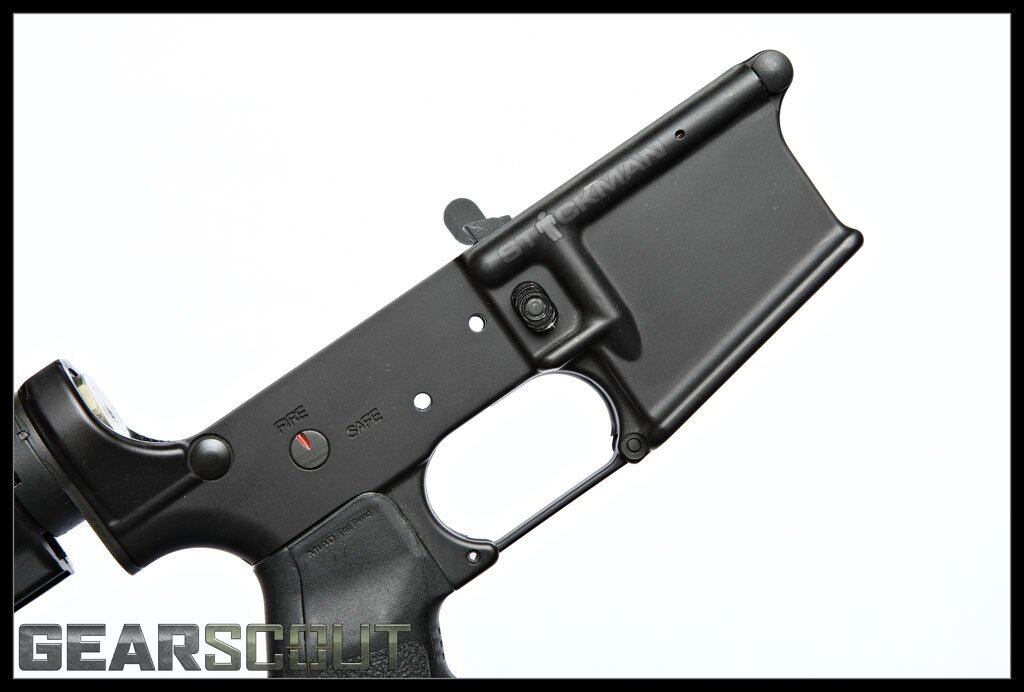
Starting with a cleared and unloaded weapon, pop the upper receiver off the lower of your AR15. Brace the lower, and gently tap out the hammer and trigger pin, then remove the old fire control group. You should now be looking at something that resembles the image below.
Note the below picture, you should have the Wilson Combat TTU, a lower, and the hammer and trigger pin. The pins are the same, so you can use them in either hole. The trigger should be cocked (locked back as shown here).

Gently position the TTU trigger pack into the lower receiver. Note the direction of the trigger because this is only going to frustrate you if you try to put it in backwards. And your friends are all going to laugh at you.
Once you have the holes lined up, take one of your pins, and press it into place. While the pin might need a gentle tap, these do NOT need to be pounded into place. You aren't driving nails here.
Once both pins are in place, check the inside and you should find it looking like this. Note the legs of the trigger spring -- if you look close you will see that they lock into place in the notches that are in those pins you just pushed into place.
Now you can CAREFULLY drop the hammer by pulling the trigger. The reason I say "carefully" is because you do NOT want the hammer to fall onto the receiver. You can snap your bolt catch, or even cause damage to the receiver if you do it enough. The reason why it's OK to dry fire your AR15/ M4/ M16 is because your hammer is dropping onto the firing pin in your bolt carrier group when the weapon is assembled. If it's not assembled, the hammer falls onto a part it's not supposed to. Use your hand or a rag to catch the hammer. Simple stuff, but sometimes forgotten by people. Looking inside, you should now see things looking like this....
Now let's check to see if the half-cock position works. This is not a feature found on regular AR15/ M4/ M16 triggers. This is an added safety feature that Wilson Combat tossed in. To check this, cock the hammer, then place your finger over the hammer. Pull the trigger, and let go while only letting the hammer go forward a little bit. Your hammer should only go forward as far as shown below. Another way to test for this is to release the hammer all the way, then pull it back like you were going to cock it. Instead of pulling it back all the way, bring it back half way and then let it go forward. It will then stop at the half-cock position.
This image shows what the trigger looks like while fully forward as opposed to the half cock position.
That's all there is to it, and it takes longer for me to type this up than it does to actually drop the Wilson Combat TTU into a receiver. Now all you need is to get out and go shooting....
For a complete review of the Wilson Combat TTU, check out Military Times Gear Scout for our 10,000 trips of the trigger test.
http://www.wilsoncombat.com/ttu.asp